Skip to content
 

Store Hours: | In Store: Tue thru Fri 11am-6pm | Sat. 10am-1pm

FacebookInstagramPinterestYelpYouTube
AV Workshop - We Digitize!AV Workshop - We Digitize!
AV Workshop – We Digitize!
We Convert Video, Film, Audio and More to Digital
  • Video Transfer
    • Video to Digital mp4 File
    • Video to DVD
    • DVD to Digital mp4 File
    • SD Card to DVD
    • Video Tape Repair
  • Film Transfer
    • Film Transfer
    • 8mm Film Transfer
    • Super 8 Film Transfer
    • 16mm Film Transfer
  • Photos / Slides
    • Scanning Services
      • Photo Scanning Services
      • Slide Scanning
      • Negative Scanning Services
      • Photo Restoration
    • Photos to DVD
      • Photos to DVD
      • Memorial Video
      • Graduation DVD
  • Audio Transfer
    • CD to Digital mp3
    • Audio Cassette Tape Transfer
    • LP to CD / Record to mp3, WAVE, or CD
    • Reel to Reel Audio Tape Transfer
  • CD/DVD Duplication
    • CD Duplication (short run)
    • CD Replication (1000+)
    • DVD Duplication (short run)
    • DVD Replication (1000+)
  • Editing & More
    • Other Services
      • Floppy Disk to CD
      • Zip Disk to CD
      • Photo Restoration
    • Video Editing
      • Video Editing Services
      • Scholarship Video
      • Training Video
    • Video Production
      • Video Production Services
      • Sports Videography / Scholarship Video
      • Wedding Video Services
  • About Us
    • Contact Us
    • Reviews
    • Meet the Team
    • Blog
    • Old Blog
    • FAQ
  • Get Quote
February 1, 2022Misc, UncategorizedBy Scott Sargent

How to Use a USB Flash Drive to View Files

A step-by-step guide on how to copy, view, and edit your files using a drive


USb Flash Drive Guide


If you’re new to the world of USB Drives, it may seem a little confusing at first. Luckily, it’s a pretty simple process once you get the hang of it. This guide will help you learn how to use your USB Drive (also known as: Thumb Drive, Flash Drive, or Hard Drive) to view, send, and copy your files.


Step 1: Locate the USB Port

The first step is plugging your drive in. If you are on a windows desktop computer, the port will probably be on the tower. If you’re on a laptop, the port will most likely be located on the side or back of the laptop.


How to use a Flash Drive

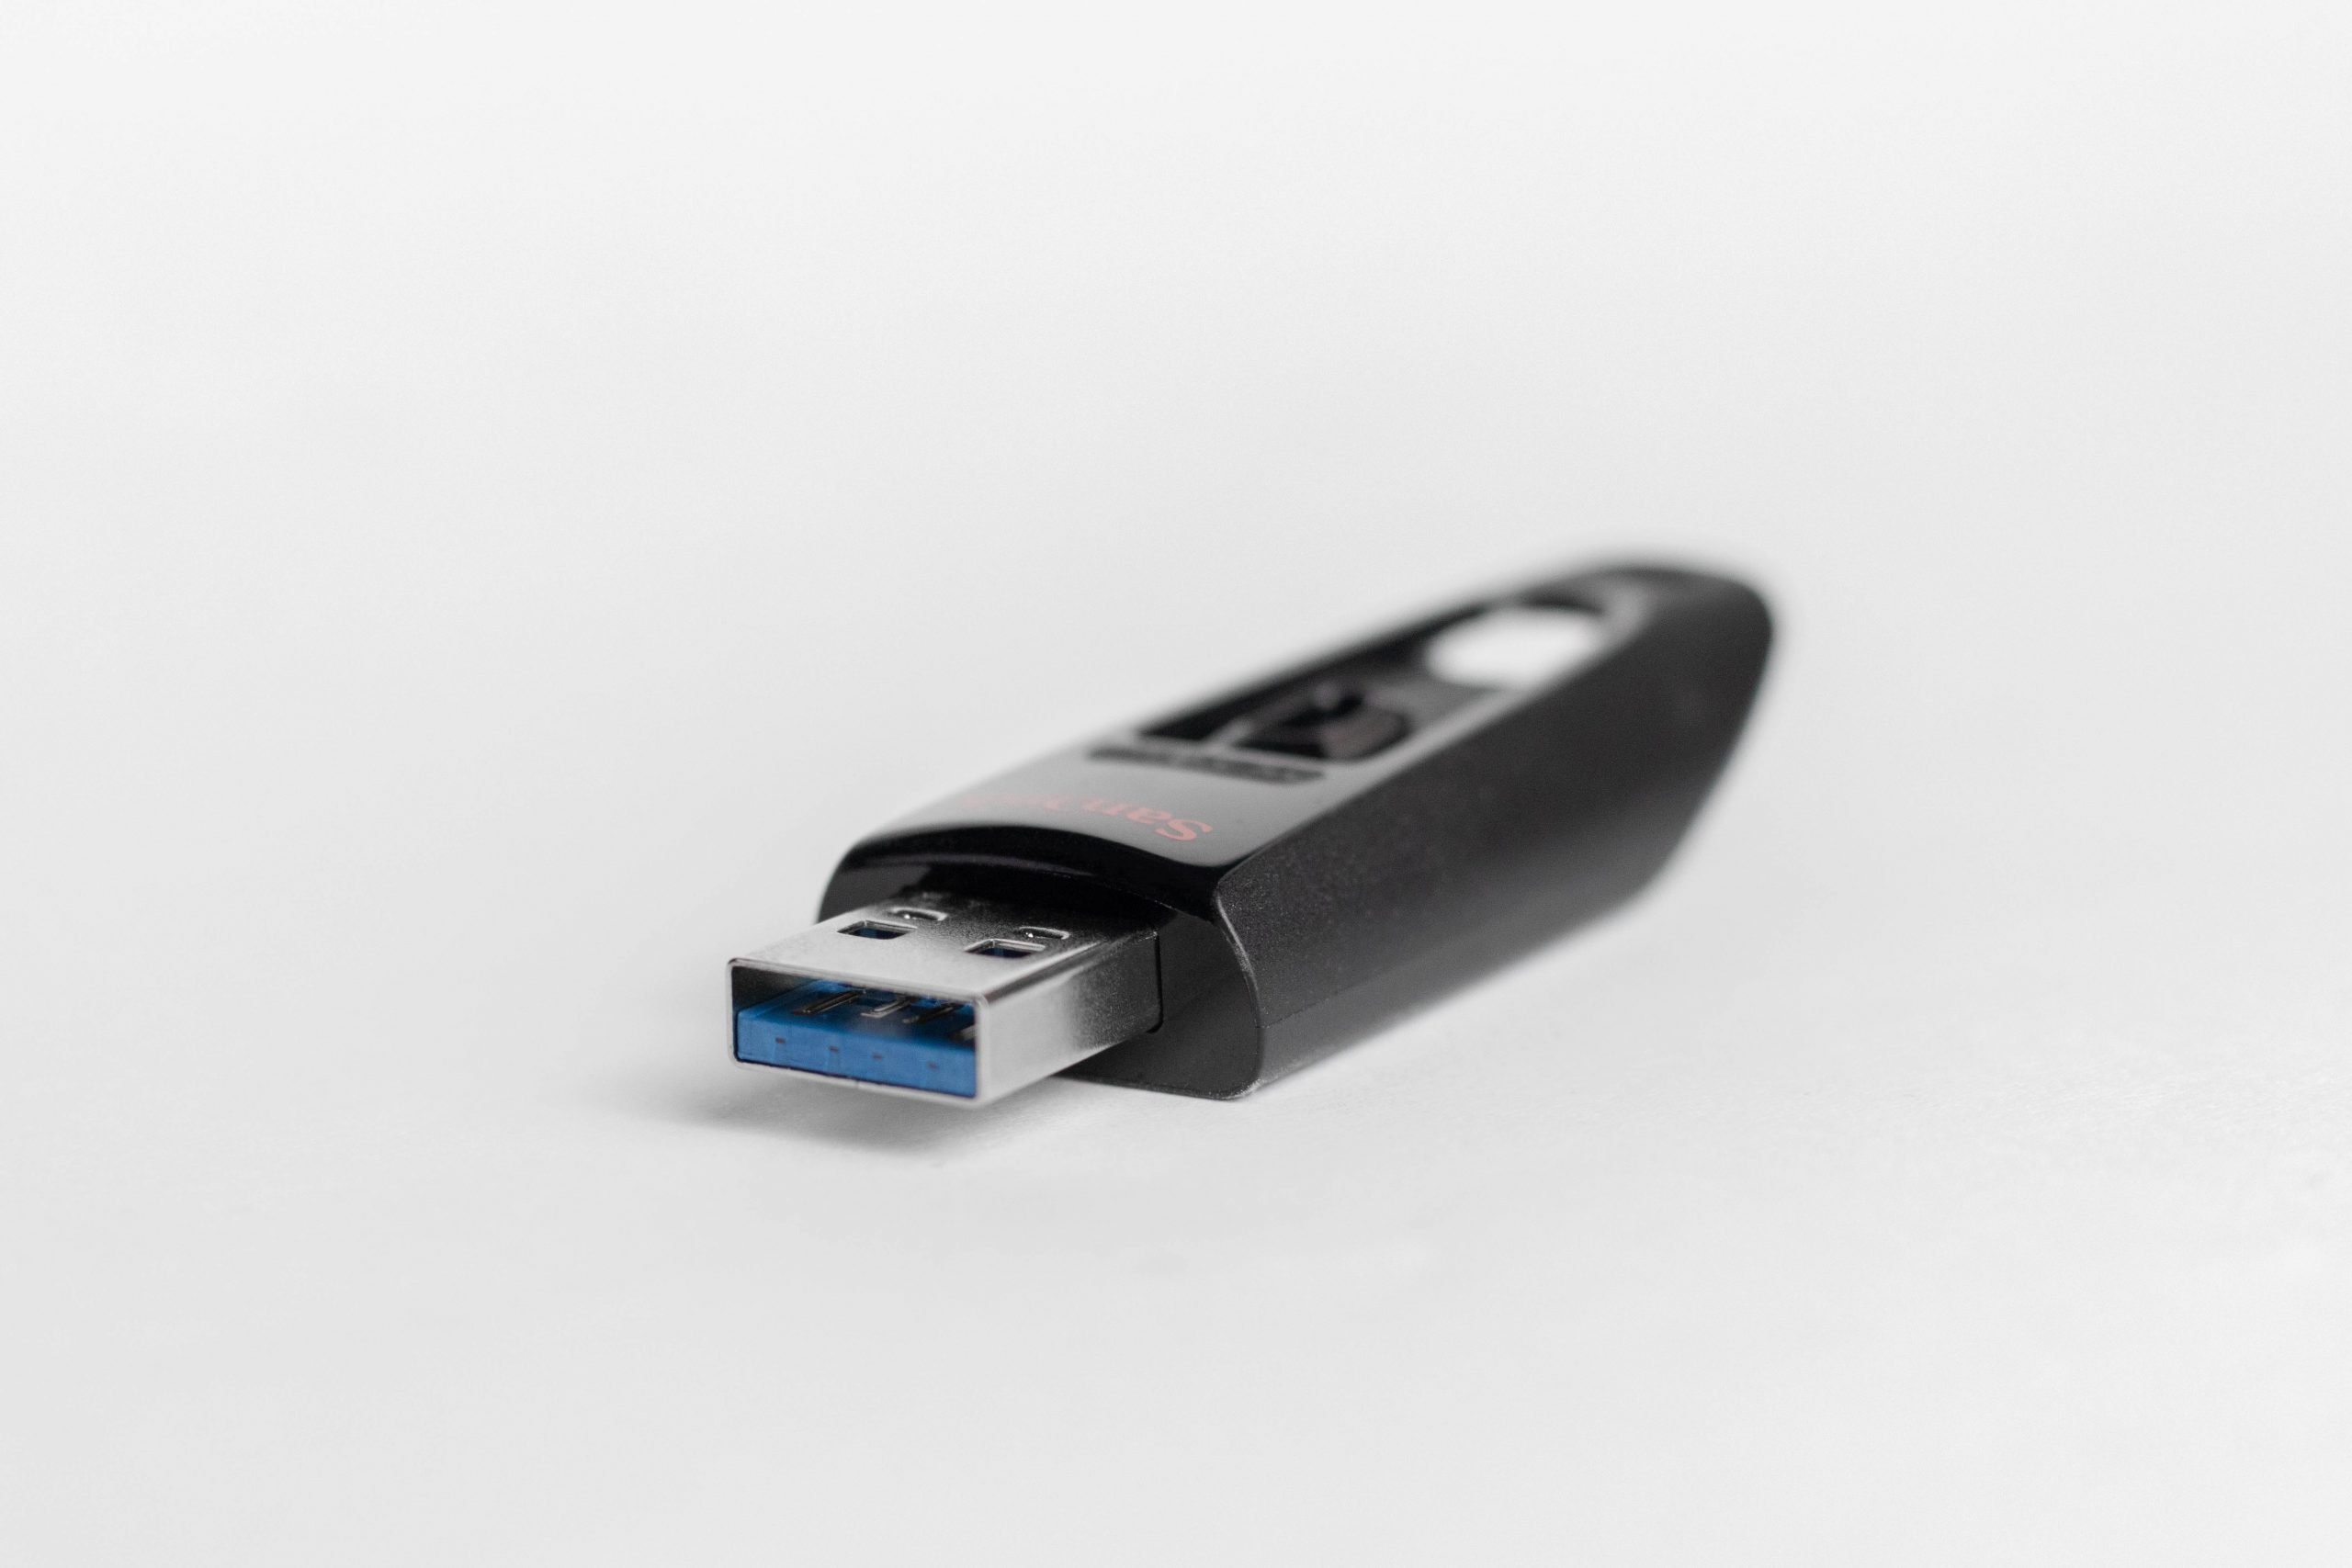
Step 2: Plug the Drive into the Port:

Once you locate the USB port you can plug your drive in.

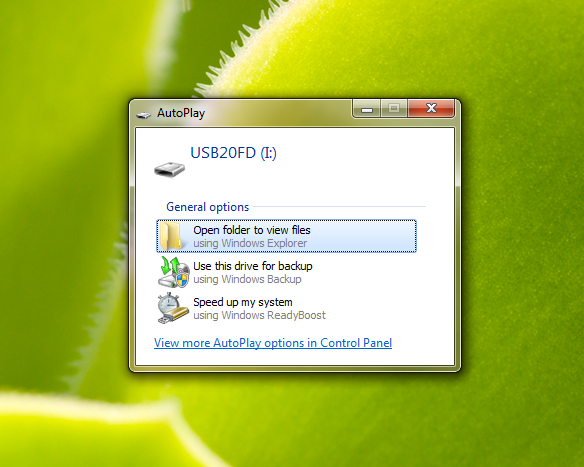
Now, a pop up box may appear. If this is the case, select ‘Open folder to view files’. This opens up the drive so you can see all your files that are being stored on the device. Some computers will skip this step and go ahead and open the drive folder which will show all your files. If your files have been organized into subfolders we created (Ex: Slides, Video, Negatives, Photos) you will see the subfolders first.


Copy Files on a Flash Drive


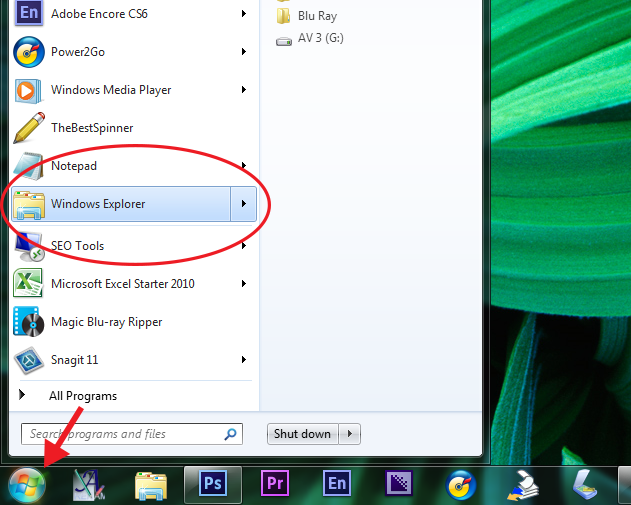
If a pop up box doesn’t appear, don’t worry. All you need to do anytime you want to access the drive while it’s plugged in is locate the windows explorer icon on your desktop (manila folder icon). This is usually located in the bottom panel on your desktop screen.


Flash Drive vs. Thumb Drive


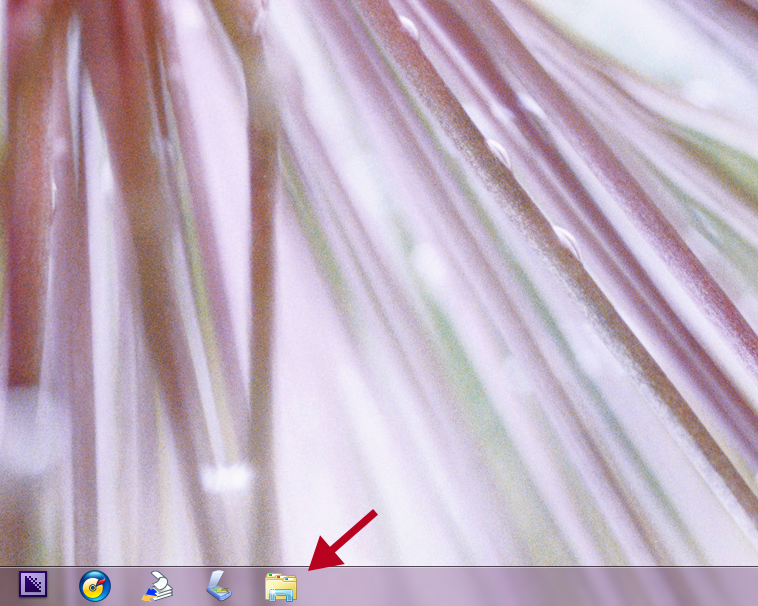
If it is not on the bottom panel, simply click the start menu in the bottom right hand corner (windows icon). Then look for the manila folder icon labeled windows explorer. If you’re using a MAC, this will be the icon called ‘Finder’. Click this once you locate it.


Drag Files from a USB Flash Drive


Once you’ve opened windows explorer, you can locate your drive on left column.


Convert Video to USB Flash Drive

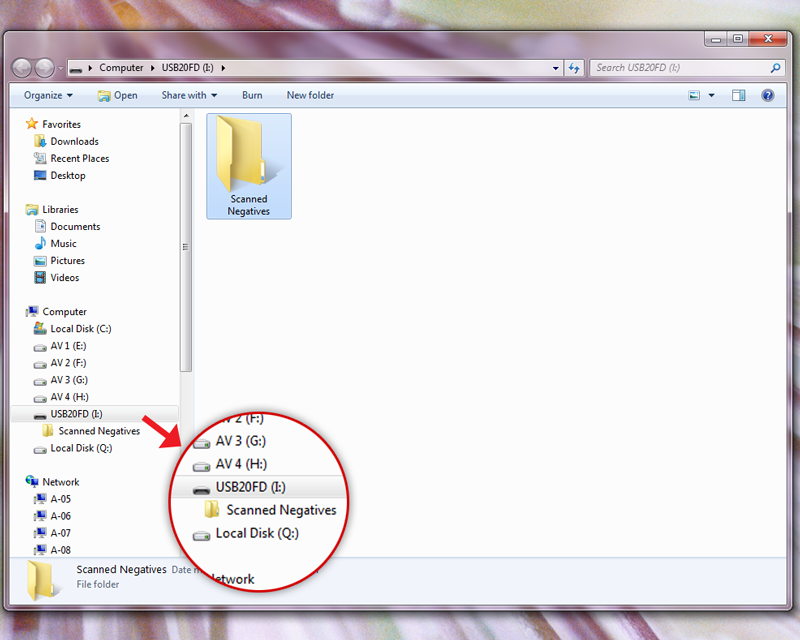
Any time the drive is plugged in, it will appear in the left column of Windows Explorer – usually located under the ‘Computer’ location.


Now that your drive is plugged in, you can access it through windows explorer just like you would access other folders such as pictures, documents, desktop, downloads, etc.

When you click your drive, your files may be separated into subfolders. In the example above, there is a subfolder labeled ‘Scanned Negatives’. This means all the negatives are in this folder. Double click the folder to access all the files. To go back, you can click the left arrow in the top left corner of Windows Explorer.

If your files are not separated into subfolders, feel free to go ahead and double click whichever file you want to view. This will open the image / video / document / etc.

*Note: The name of the Flash Drive may vary. In this example, the default name is USB20FD. At AV Workshop, we typically rename the drives with your last name (if it is a drive we are providing for you). Thus, you would see your last name as the drive name. Continue reading to find out how to rename your drive and/or drive files.


Step 3: Eject your Drive

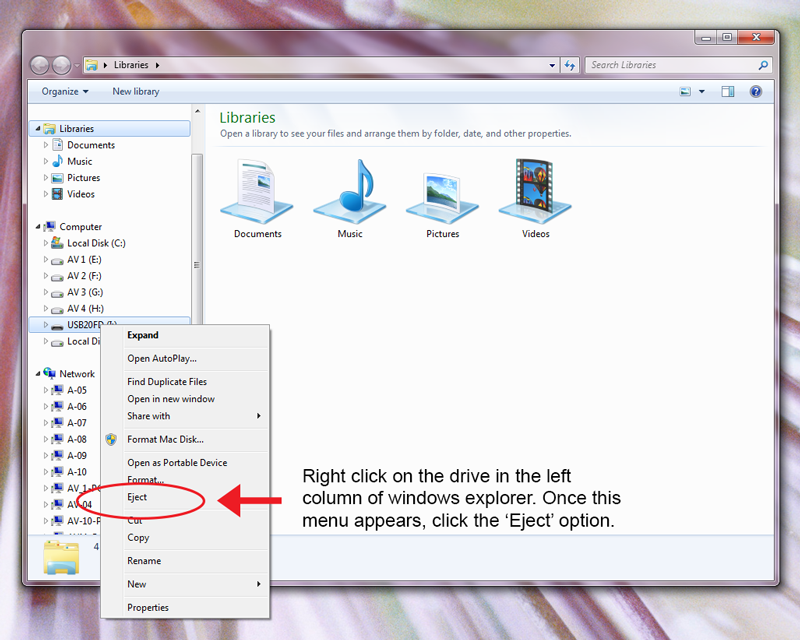
In order to safely remove your drive, you need to first eject it. To do this, open windows explorer and right click on the drive in the left column.


Convert Film to USB Flash Drive


Once you right click the drive, a menu will appear. Left click the option that says ‘Eject’. Windows explorer may either close itself or you may get a pop up notification on the bottom left corner of your screen that says your device is safe to remove. Both of these mean it is now safe to remove your USB Drive from the USB Port.


More Info


To Back Up your Files:

Copy and Paste:

We always recommend that you make a backup folder of your files. This way if your drive gets lost or damaged, you have the files saved on another source. One of the easiest ways to do this is to drag a copy of the files straight onto your desktop. There are a couple ways to do this.

    • The first is to simply highlight all the folders or files located on the drive. To do this, begin by clicking drive name on the left column of windows explorer. Now, you should see all the subfolders or, if there are no subfolders, you will see the files here. Highlight all of these and right click, then choose copy. To highlight, you place your curser inside the white windows explorer box. Left click and hold down. While holding the left click down – drag your cursor over all the files / folders. You should see them all become highlighted.
    • Alternatively, you can hold down the shift key and, while holding, click the very first and last items. You should see everything become highlighted. Now, you can right click and hit the ‘Copy’ option.

If you don’t want to copy them all at once, you can right click and hit copy on each folder or file one by one. After you copy the first one, go to your desktop screen and right click anywhere on the screen and hit ‘Paste’. This should begin pasting the item(s) you’ve copied onto the desktop.


Video to Digital Hard Drive

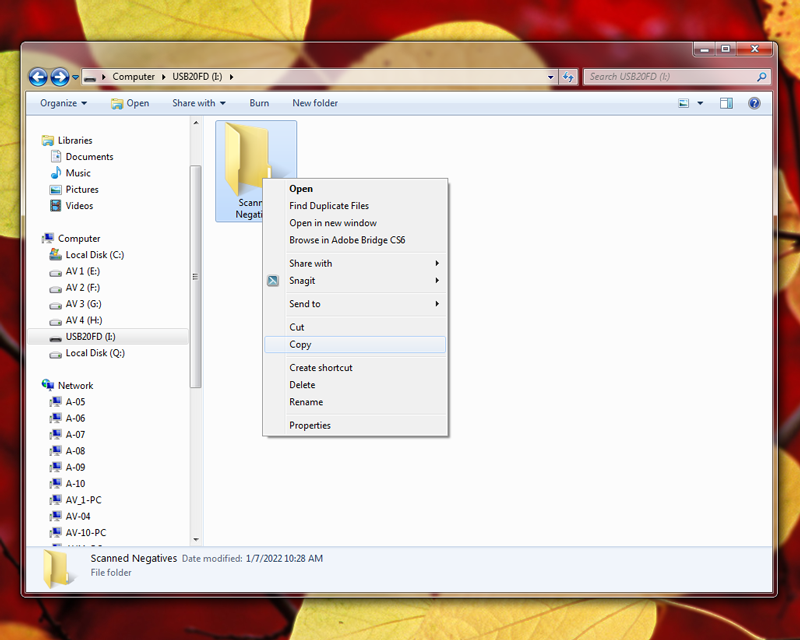
Right click the folder or file you want to copy, then left click the ‘Copy’ option


How to Backup a Hard Drive

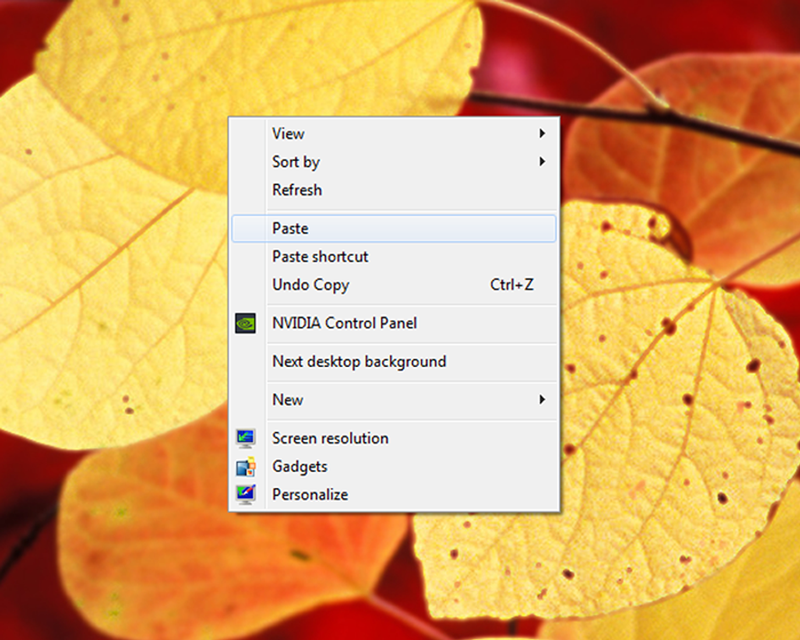
On your desktop screen, right click then left clik the ‘Paste’ option


Drag and Drop

There is also the option to drag the files onto your desktop instead. Dragging is just a term used to describe moving or copying files to another location on your computer. Essentially, this is just another way to copy and paste.

To drag your files over to your desktop, start by highlighting all the folders or files again (this is to move everything at once. You can also select one folder or file at a time to move them individually). Once they are highlighted, left click anywhere on one of the highlighted items (it does not matter which one) and hold the click down. Now, while holding down the left click, drag your cursor to the desktop screen and let go. Your files should begin copying to your desktop.


To Rename your Folders or Files:

To rename, right click whichever folder or file you would like to relabel. Then select the ‘Rename’ option.


Scan Photos to Digital Flash Drive


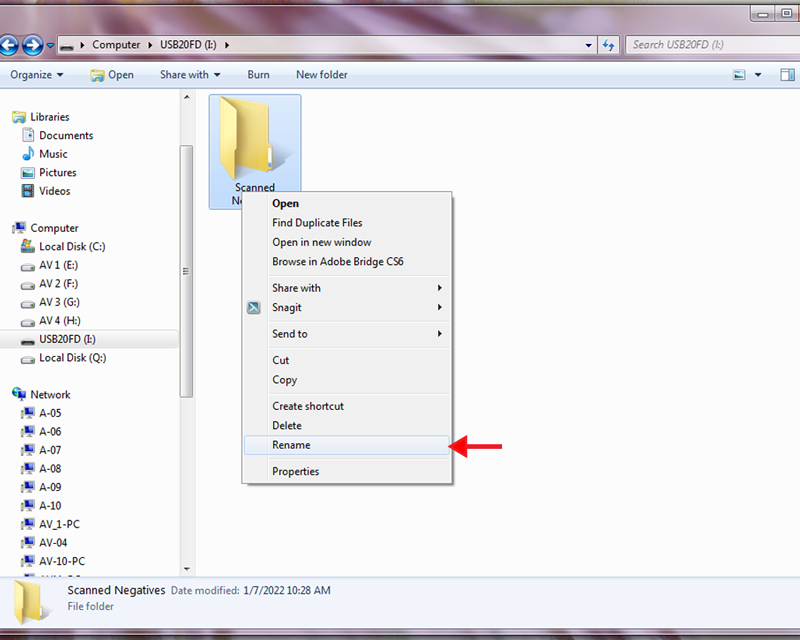
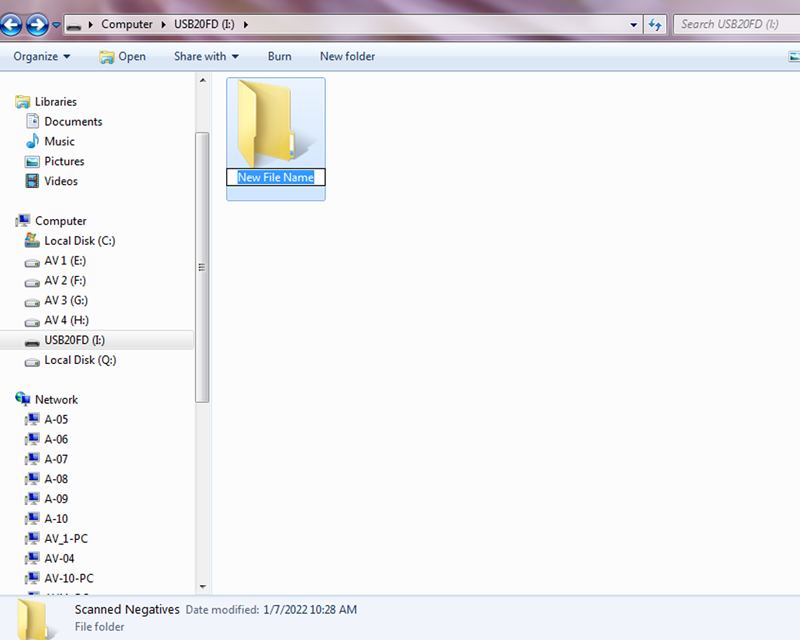
Now, you can type in the text box that appears and choose any name you want! When you’re done typing just hit enter or click anywhere outside the text box. Now, your file or folder is renamed.


How to copy files on a USB Flash Drive Device


There you have it! Those are the basics of using a USB Drive.

Flash DriveHow to Use a Flash DriveThumb DriveUSB Flash Drive Guide
About the author

Scott Sargent

Related posts
Convert Audio Cassette to mp3
AV Workshop Transfers Archive of 300 Aikido Martial Arts Audio Interviews to WAVE Files
August 2, 2023
Bugsy Siegel 16mm Film Transferred to HD mp4 Files
January 11, 2023
Historic College Basketball 3/4″ U-matic Tapes Converted to Digital mp4 Files
October 18, 2022
Convert 16mm Film to Digital HD mp4 File
Al Capone Miami Mansion 16mm Film Preserved to HD mp4 Files
February 17, 2022
Koko the Gorilla MiniDV Tapes Transferred to HD mp4 Files
October 25, 2021
What To Do With Old VHS Tapes?
July 16, 2021
Shopping Cart
Shopping Cart (0)
Shopping Cart
SUBTOTAL $0.00
CHECKOUT
Facebook
YouTube
Pinterest
Instagram

CHECK US OUT
Check out Audio Video Workshop on Yelp
free-ship-film-transfer
save-discount-5-off
Why Us
  • Small Local Shop
  • Quality Focused Staff
  • All Staff have B.A. in this field
  • High Grade Professional Equipment
  • Highest Grade Archival DVDs / CDs
  • 100% DVD Playback Guarantee
  • Work Done Locally
  • Excellent Customer Service
  • Fair / Honest Estimates & Prices
  • Convenient Location - Free Parking
  • In Business for Over 25 Years!
  • Never Lost/Damaged Originals
Local Service Areas
You can Order Online and Ship Us your Project or Drop it off Locally.
We are located in the San Francisco Bay Area.
We Serve: Peninsula - San Mateo County, Atherton, Belmont, Brisbane, Burlingame, Colma, Daly City, East Palo Alto, Foster City, Half Moon Bay, Hillsborough, Los Altos, Los Altos Hills, Menlo Park, Millbrae, Mountain View, Palo Alto, Pacifica, Portola Valley, Redwood City, Redwood Shores, San Bruno, San Carlos, San Mateo, South San Francisco and Woodside.
South Bay - Silicon Valley - Santa Clara County, San Jose, Santa Clara, Milpitas, Cupertino, Sunnyvale, Saratoga, Campbell, Los Gatos, Morgan Hill, Gilroy, Los Altos, Los Altos Hills.
North Bay - Marin County, Napa County, Sonoma County, and Solano County, Belvedere, Corte Madera, Fairfax, Inverness, Kentfield, Larkspur, Greenbrae, Marin City, Mill Valley, Novato, San Anselmo, San Geronimo, San Rafael, Lucas Valley-Marinwood, Terra Linda, Sausalito, Tiburon, Rohnert Park, Santa Rosa, Petaluma, Windsor, Sebastopol, American Canyon, Calistoga, Napa, St. Helena, Yountville, Ross, Cloverdale, Cotati, Healdsburg, Sonoma, Benicia, Dixon, Fairfield, Rio Vista, Vacaville, Vallejo and Sacramento.
East Bay - Contra Costa County and Alameda County, Antioch, Brentwood, Clayton, Concord, Danville, El Cerrito, Hercules, Lafayette, Martinez, Moraga, Oakley, Orinda, Pinole, Pittsburg, Pleasant Hill, Richmond, San Pablo, San Ramon, Walnut Creek, Alameda, Albany, Berkeley, Dublin, Emeryville, Fremont, Hayward, Livermore, Newark, Oakland, Piedmont, Pleasanton, San Leandro, and Union City.
Santa Cruz Capitola, Santa Cruz, Scotts Valley, Aptos, Ben Lomond, Boulder Creek, Felton, Soquel, and Watsonville.
View our Contact Us page for directions and a Google Map.
CONTACT INFO:

(650) 369-4366

Email: audiovideoworkshop@gmail.com

Hours:
Tue-Fri: 11am – 6pm
Sat 10am – 1pm
Address:
703 Woodside Rd. Ste 8
Redwood City, CA 94061

AV Workshop - We Digitize!
© Copyright 2023 Audio Video Workshop | All Rights Reserved | CALL 650-369-4366