How to Prepare your Videotapes for AV Workshop:
Helpful tips to prepare your videotapes for transfer to digital
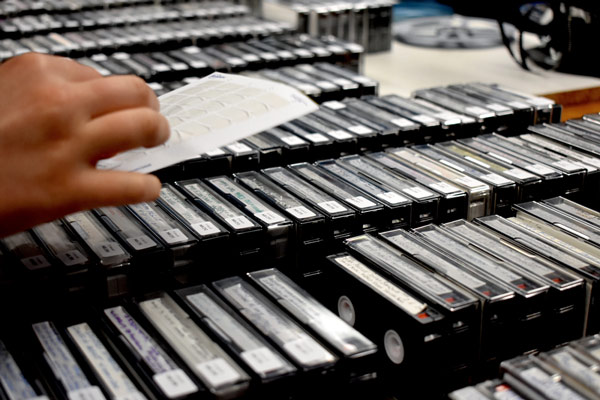
1. Gently Clean Tapes (Optional)
- Videotapes can collect dust over time. Putting dusty tapes directly into our VCR decks will create problems and could prevent a smooth, clean video transfer.
- It’s best to take either a damp wipe or a bit of windex and gently wipe down each tape. This will help prevent dust transfer to our equipment.
- *Things to look out for: If you notice white flakes or specks scattered on the reels of tape through the clear plastic window – this is mold. Sorry, but we cannot transfer videotapes with mold nor can we clean the tape.
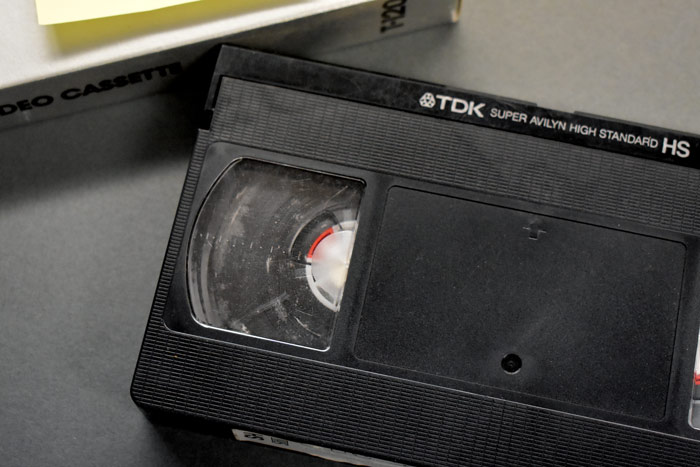
Ex: VHS Tape with Mold
2. Separate Different Types of Media
- If you have different forms of media (such as film and videotapes), be sure to separate them out and label them separately.
- For example, if you have 10 videotapes and 10 super 8 reels – label the video tapes 1-10 and the film 1-10.
- If you want to take the extra step, it’s also helpful to separate the different forms of videotapes. For example, if you have both Hi8 Tapes and VHS tapes, you could separate these formats out and label them separately. This helps your media to be as organized as possible on your flash drive or hard drive. If you are not sure what type of tapes you have, you can refer to the chart below.
- VHS
- 7.33 × 4 inches
- VHS-C
- 3.67 × 2.25 inches

- Betamax
- 6.14 × 3.75 inches
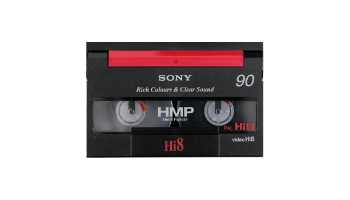
- Hi8, Digital 8, 8mm
- 4 x 2.75 inches

- MiniDV
- 2.6 x 1.9 inches
3. Organize
- Organize your videotapes in the order you would like them to be in.
- For example, many people organize by date where possible. If there are a few videotapes with no date, you could put these at the end after the dated media.
- However, if you are transferring your videotapes to mp4 files on a flash drive or hard drive – there is no need to stress about the order too much! The great thing about digital files is once you plug in your flash drive / hard drive, you can simply right click and rename your files anything you want to. You can also reorder your files if you decide you want them in a different order.
4. Label
- Once you have your videotapes in order, you can label them by number with sticky notes / masking tape / labels, etc.
- The number you label the tape as will be the number the file is labeled as.
- For example, if you sent us VHS tapes, we would label the digital file or DVD with your last name, VHS, and the number (ex: Smith VHS 01). This way, you can easily see which mp4 file correlates to which tape. Again, if you transferred your media to digital files on a drive, you always have the option to rename the files as many times as you’d like.
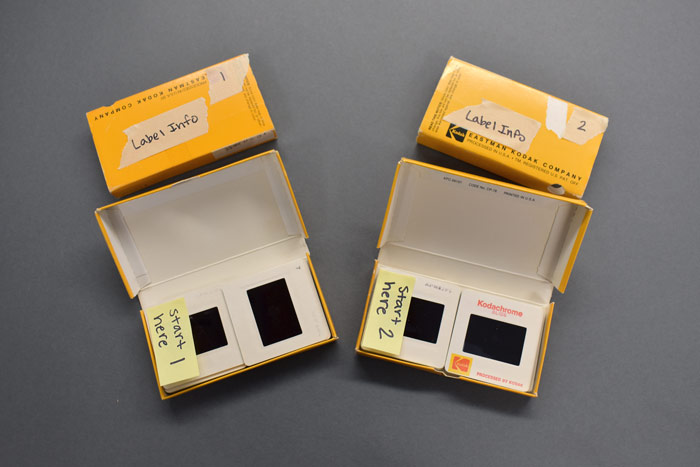
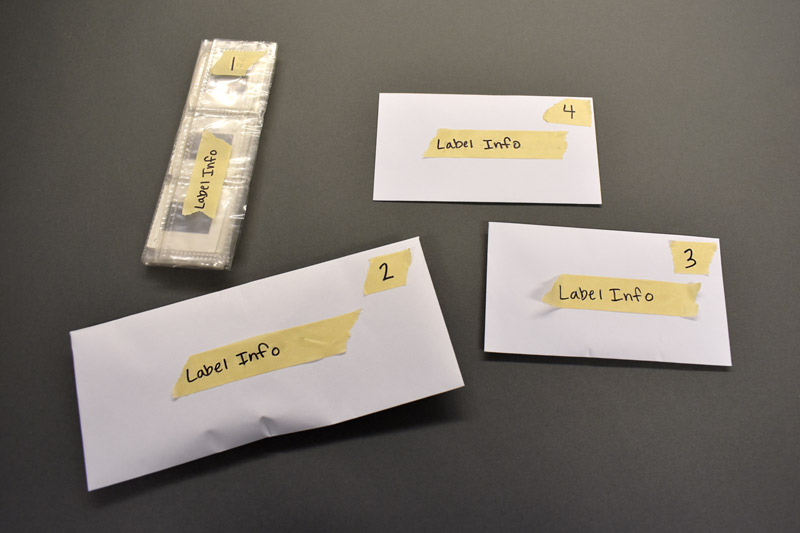
Tape Organization and Labeling
5. Include Hard Drive or Flash Drive if Providing Your Own
-
- if you are providing your own hard drive or flash drive, include it with your order. If your videotapes are being transferred to mp4 files, keep in mind that 1 hour of footage is equal to about 6 GB, 2 hours is about 12 GB, and so on. Therefore, if you have three tapes that are about 2 hours each, you would need a flash drive that can hold at least 36 GB. If you are providing a hard drive, about 140 hours of video (mp4 file format) will fit on a 1 TB drive.
*See bottom of page for more info on flash drives / hard drives
- if you are providing your own hard drive or flash drive, include it with your order. If your videotapes are being transferred to mp4 files, keep in mind that 1 hour of footage is equal to about 6 GB, 2 hours is about 12 GB, and so on. Therefore, if you have three tapes that are about 2 hours each, you would need a flash drive that can hold at least 36 GB. If you are providing a hard drive, about 140 hours of video (mp4 file format) will fit on a 1 TB drive.
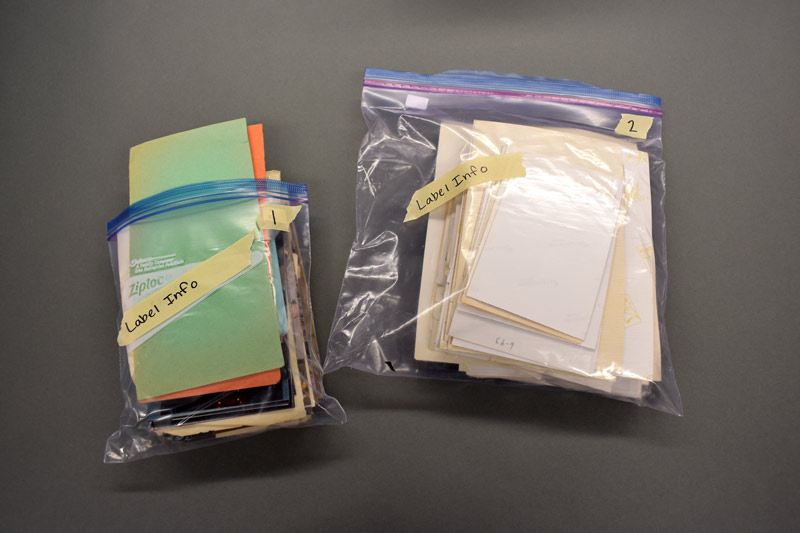
6. Place organized media in Clean (Dust / Mold Free) bags or boxes before Dropoff or Shipping
- Please make sure containers are free of dust, dirt, cobwebs, etc… Clean, recyclable bags & boxes are usually best!
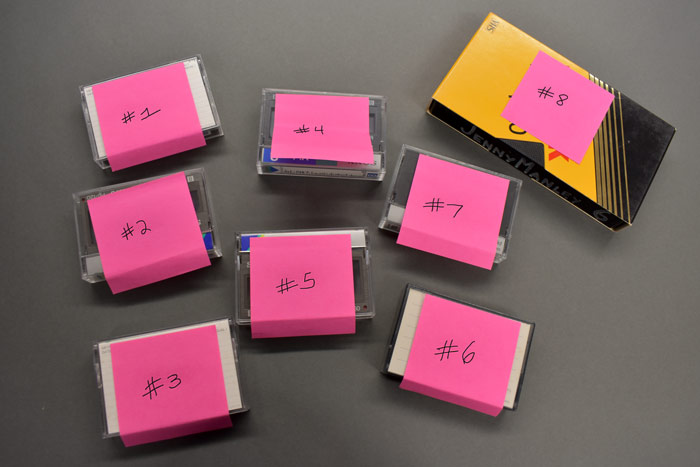
Ex: Tapes Labeled by Number with Sticky Notes
How to Prepare your 16mm, 8mm, and Super 8 Film for AV Workshop:
Helpful tips to prepare your film for transfer to digital
1. Gently Clean Cans (Optional)
- If you notice your film cans have collected some dust over time, it’s helpful to use a wipe or some windex and a cloth to gently wipe the dust away.
- You can take either a damp wipe, baby wipe, or a bit of windex and gently wipe down each canister. This helps to reduce dust transfer to our equipment in the shop – which can result in problematic transfers.
2. Organize + Label
- We encourage you to pre-number the reels in the order you prefer (if possible) by using the information on the outside / inside of the reels or the development dates.
- We do NOT recommend that you preview your film using a projector – as the sprocket holes will become worn. This results in an unstable film transfer. There is also a risk of both scratching and / or burning the film.
- If you number the reels, we keep them in that order. If no order is specified, we organize the reels by date where possible. We label each reel in order by number.
To read more about our film transfer process + what to expect click here
3. Include Hard Drive or Flash Drive if Providing Your Own
- Lastly, if you are providing your own hard drive or flash drive, include it with your order. Keep in mind that 1 hour of footage is about 20 GB, 2 hours of footage is about 40 GB and so on.
*See bottom of page for more info on flash drives / hard drives
4. Place organized media in Clean (Dust / Mold Free) bags or boxes before Dropoff or Shipping
- Please make sure containers are free of dust, dirt, cobwebs, etc… Clean, recyclable bags & boxes are usually best!
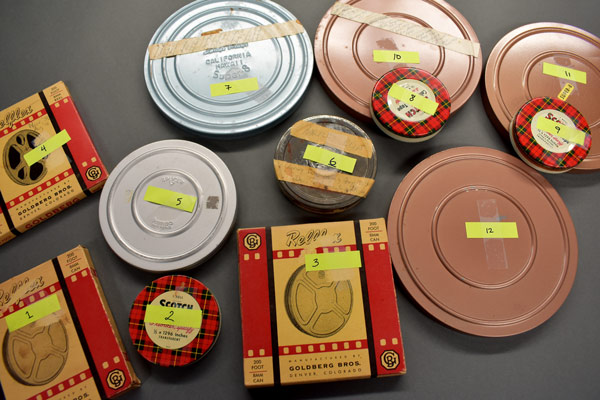
Ex: Film Reels Labeled by Number with Sticky Notes
How to Prepare your Photos for AV Workshop:
Helpful tips to prepare your photos for scanning to digital
1. Organize
- Remove photos from any albums and stack them in the desired order (optional)
- A good way to log where each photo came from is to mark the back of each photo and the album with a number 2 pencil
- You can name each photo as 1-1, 1-2, 1-3, etc…
- Thus, you can see that these photos belong to album 1
- If the photos are stuck and can’t be removed, we can scan them from the albums and crop them into separate images
- Please call or bring in for an estimate
- Organize your photos by putting them in envelopes, ziploc bags, or in a box with index cards before each new section
2. Label
-
- Using a Soft #2 Pencil (Not a sharpie), write / label a #1 on the back of the photo you want to start the order
- We will scan the photos in that order and create a new folder (on the flash drive) for each bag or section labeled according to the concise words provided
- EX: Africa 1989, Tahoe 1990, etc…
3. Include Hard Drive or Flash Drive if Providing Your Own
-
- Lastly, if you are providing your own hard drive or flash drive, include it with your order.
4. Place organized media in Clean (Dust / Mold Free) bags or boxes before Dropoff or Shipping
- Please make sure containers are free of dust, dirt, cobwebs, etc… Clean, recyclable bags & boxes are usually best!
Ex: Photos Organized into Ziploc Bags and Labeled by Number
*Important Notes:
Please extract photos from albums if they are slide-out or loose
– Photo album scanning by page (for images that are stuck / will not come out of album) = $4.95 per page
– Extra option for cropping each image on the full page scan (Call for details and pricing)
– Photo album extraction fee = add .50 per image
– Photos that have any sticky residue on the back will require a special set up = add .50 per image
– TIFF file format available = add .30 per image
– 5”x7” up to 8.5”x11” = add .75 per image
How to Prepare your Slides for AV Workshop:
Helpful tips to prepare your slides for scanning to digital
1. Organize
- Remove slides from carousels / binders (optional)
- Rubber band your slides into stacks of about 50.
2. Label
- If you would like to have your slides organized in a specific order, please indicate which is the first slide by writing a “1” on the cardboard frame (or on note paper) that you would like to start the order.
- Continue by writing a “2” in the second stack – letting us know this is the first slide of the 2nd stack and so on.
- We will scan the slides in this order top to bottom.
- If you would like to have separate folders created based on different batches of slides, please put them in different ziplocs or boxes with the batch label information printed out. We will create a unique folder per batch in the order you specify.
- *Note: a setup fee may apply if the slides are different thicknesses within the same batch / stack.
3. Include Flash Drive or Hard Drive if Providing Your Own
- if you are providing your own hard drive or flash drive, include it with your order.
4. Place organized media in Clean (Dust / Mold Free) bags or boxes before Dropoff or Shipping
- Please make sure containers are free of dust, dirt, cobwebs, etc… Clean, recyclable bags & boxes are usually best!
Ex: Slide Boxes Labeled by Number

Ex: Slides Stacked and Labeled in Order by Number
How to Prepare your Negatives for AV Workshop:
Helpful tips to prepare your negatives for scanning to digital
1. Organize
- You can either provide your negatives in the original envelopes / sheets / binders or put them into ziploc bags.
2. Label
- If you would prefer to have separate folders created based on the various sheets or envelopes please create a separate ziploc bag for each unique folder you would like. You can either write the label information on a piece of paper and include it in the bag or use sticky notes / tape to label each bag. We will create a folder per bag / envelope in the order you specify.
3. Include Flash Drive or Hard Drive (if providing Your own)
- If you are providing your own hard drive or flash drive, include it with your order.
4. Place organized media in Clean (Dust / Mold Free) bags or boxes before Dropoff or Shipping
- Please make sure containers are free of dust, dirt, cobwebs, etc… Clean, recyclable bags & boxes are usually best!
Ex: Negatives Organized into Envelopes and Labeled by Number
How to Prepare your CDs for AV Workshop:
Helpful tips to prepare your CDs for transfer to digital files
1. Inspect CDs
- As you unpack your CDs to be placed onto spindles, please inspect the media side (silver side) of the discs for any fingerprints or debris.
2. Clean as needed
- If possible, use some Windex or a cloth to gently wipe off any fingerprints / debris you happen to notice. This helps provide an error free transfer of your discs.
3. Place CDs onto Spindles (we provide)
- We will send you spindles or you can pick them up in-store. All you need to do is stack your discs onto the spindles and either ship them to us or drop them off! If you had your CDs in a certain order, you can label the spindles starting at #1, #2, #3, and so on… This way we know where to begin. You will receive your physical CDs back in the same order.
*Note: Your CDs will automatically be organized alphabetically on the Flash Drive
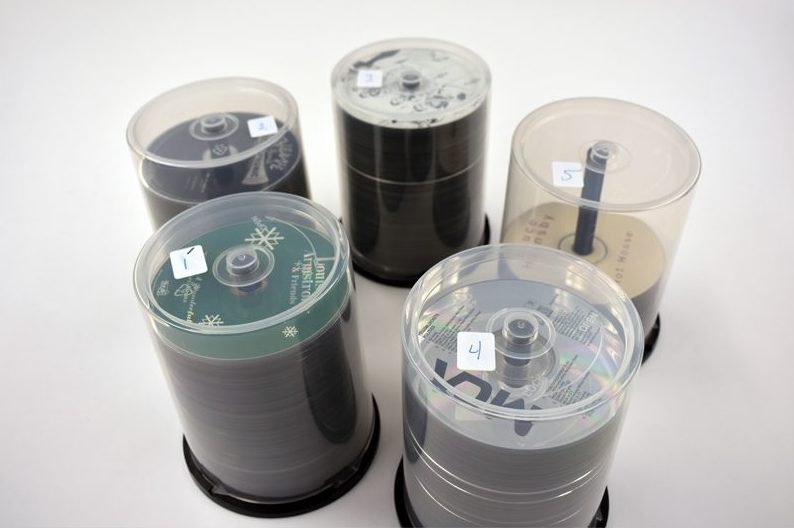
Ex: CDs placed on spindles and labeled by number
4. Include Flash Drive or Hard Drive (if providing your own)
- If you are providing your own hard drive or flash drive, include it with your order.
5. Place organized media in Clean (Dust / Mold Free) bags or boxes before Dropoff or Shipping
- Please make sure containers are free of dust, dirt, cobwebs, etc… Clean, recyclable bags & boxes are usually best!
*An Important Note About Flash Drives:
Helpful tips if you are planning to provide your own flash drive
There are a few important things to keep in mind if you are providing your own drive!
Storage Space:
It’s important to know that drives typically have slightly less storage space than they are advertised as having. Therefore, it’s best to buy a drive with about 3-4 GB of extra slack. For example, if you’re estimating your films / videotapes to be about 30 GB total – the files probably won’t fit on a 32 GB drive. It would be best to go one storage interval up. For example, opt for a 64 GB drive rather than a 32 GB drive. You can see an example of this below.
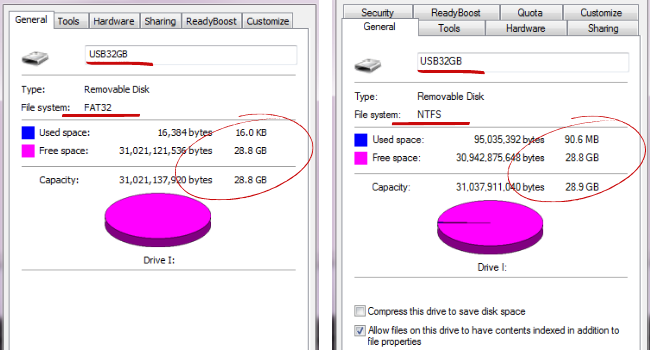
When you look at the properties for a fresh 32 GB Drive, you’ll see that the free storage space is actually slightly less than 32 GB. In this case, regardless of the format, it’s about 28.8 GB.
Formatting:
Aside from providing a drive that has enough available storage, please note that we will need a drive that is either already formatted NTFS or that can be formatted NTFS. Formatting your drive will erase everything on it, therefore if your drive is not NTFS and has files that you would like to keep – do not use this drive for your media transfer. It’s typically best to provide an empty drive, however if you have a drive with files on it and it’s already formatted NTFS – we can use that as long as there is enough available storage.
Not sure how to format a drive? Click Here to learn how to format a drive on either Mac or Windows
AV Workshop is conveniently located on Woodside Rd. in Redwood City of the San Francisco Bay Area
We accept walk-ins as well as shipments. All online orders over $250 qualify for FREE round trip shipping! To learn more Click Here.
You can get an Estimate or Order online by clicking on any service page above.
Note: If you prefer to speak with someone in person, call us during store hours at 650-369-4366
New Store Hours:
Tue. thru Fri. 11am - 6pm
Sat. 10am - 1pm